Ever walked into a room and felt a burst of joy from its colors? Painting a room can change your space, refresh old walls, and boost your mood. It’s a rewarding task, for both DIY experts and beginners.
As you start learning to paint like a pro, remember that preparation and knowledge are key. This guide will give you the room painting tips you need. You’ll be able to create a space that truly shows who you are. Get ready to get creative with DIY room painting!
Table of Contents
Key Takeaways
- Understand the importance of preparation before starting your project.
- Choose the right type of paint for your specific needs.
- Select the best tools and materials for a professional finish.
- Follow a step-by-step process to ensure quality results.
- Use color swatches effectively to select your ideal color scheme.
- Learn essential painting techniques for edge and surface work.
Understanding the Basics of Room Painting
Starting a room painting project is exciting. But, knowing the basics is key to success. Good paint preparation is crucial for a great finish. It’s important to plan and get the right tools.
Choosing the right paint is also vital. Knowing the different types helps you pick the best one for your project.
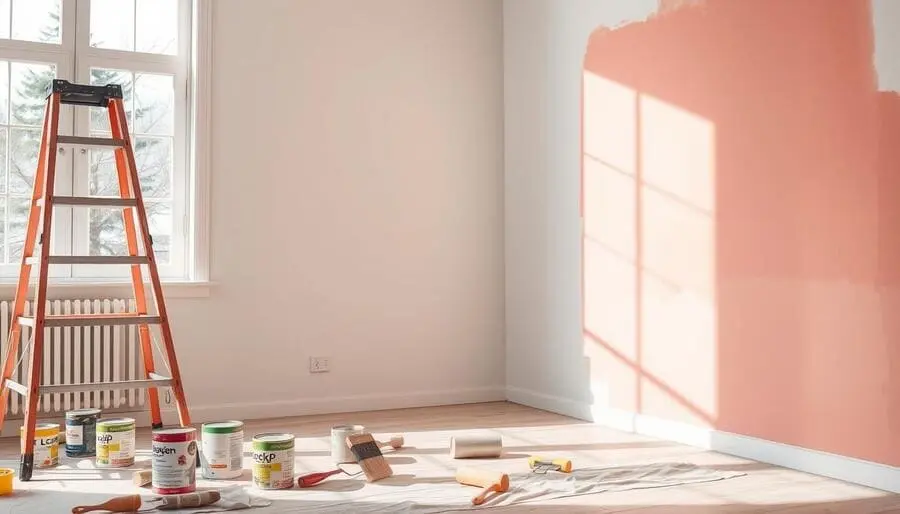
The Importance of Preparation
Preparation is crucial. A clean surface means better paint adhesion and even application. This includes cleaning walls, fixing holes, and priming when needed.
Spending time on prep work saves you from future touch-ups. It also gives your room a professional look. Here are some tips:
- Remove furniture and items from the room
- Use painter’s tape to protect edges and trims
- Wash the walls to eliminate dust and grease
- Repair any imperfections before painting
Types of Paint and Their Uses
Knowing about different paints can improve your project. Here’s a quick look at some common ones:
| Paint Type | Finish | Best Uses |
|---|---|---|
| Latex Paint | Satin, Matte, Gloss | Indoor walls, easy clean-up |
| Oil-Based Paint | Gloss, Semi-Gloss | Trim, cabinets, durable finish |
| Specialty Paints | Varies | Textured walls, ceilings, or mildew-resistant |
Learning these basics prepares you for a successful painting job. Knowing how to prepare and what paint to use can turn a simple task into a rewarding change for your space.
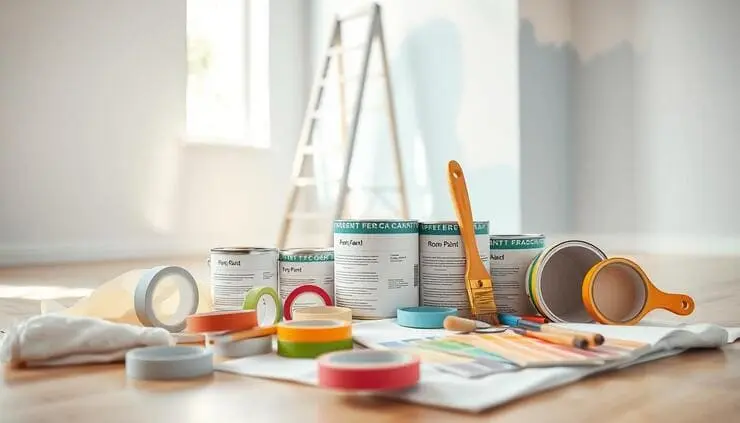
Essential Tools and Materials You Will Need
Before starting your painting project, it’s crucial to gather the right tools and materials. Knowing the different brushes and rollers can greatly improve your work. Also, picking the right primer is key for better paint adhesion and durability. Here are the main tools and supplies you’ll need, along with their uses.
Brushes and Rollers Explained
Choosing the right painting tools begins with understanding brushes and rollers. Brushes come in various styles, like synthetic and natural bristle types. Each type is best for specific tasks.
- Synthetic brushes are great for water-based paints because they keep their shape well.
- Natural bristle brushes are better for oil-based paints, giving a smoother finish.
Rollers also have different textures and nap lengths. A thicker nap is good for rough surfaces, while a shorter nap is better for smooth walls.
Choosing the Right Primer
Primer selection is crucial for a lasting paint job. It acts as a base coat that improves paint coverage, especially on porous surfaces or when changing colors a lot. When picking a primer, think about:
- Environment: Use a moisture-resistant primer in humid areas like kitchens and bathrooms.
- Surface type: Different primers work best for wood, metal, or drywall.
Other Helpful Supplies
Besides brushes, rollers, and primer, having some essential painting materials can help a lot. Make sure to have:
- Painter’s tape to protect edges and get clean lines.
- Drop cloths to keep your floors and furniture safe from spills.
- Paint trays for easy paint loading and application.
- Ladder or step stool for reaching high places.
| Type | Best Use | Material |
|---|---|---|
| Brush | Detail work and edges | Synthetic or Natural |
| Roller | Large areas | Various naps depending on surface |
| Primer | Undercoat for paint | Oil-based or Water-based |
| Painter’s Tape | Protecting surfaces | Plastic |
RELATED : How to Make a Small Room Feel Bigger : 12 tips and tricks you shouldn’t miss
How to Paint a Room: Step-by-Step Process
Painting a room can be fun and rewarding. Follow this step-by-step guide to make it easier and get a professional look. First, gather all your materials like paint, brushes, rollers, tape, and drop cloths. Good preparation is key to success.
1. Choose Your Paint: Pick a high-quality paint that fits the room’s use. Think about how easy it is to clean and the finish. For living areas, eggshell or satin finishes are good choices.
2. Prepare the Room: Move furniture out or cover it with drop cloths. Use tape to protect trim, outlets, and unpainted areas.
3. Prime the Walls: If you’re painting over dark colors or bare surfaces, primer is essential. Roll and brush it on for even coverage.
4. Start with the Edges: Paint edges, corners, and trim with a brush. This makes lines cleaner before rolling the rest.
5. Roll the Walls: Roll paint on walls in a pattern. Start from top to bottom for even coverage. You might need a second coat for the best look, after drying time.
6. Inspect for Missed Spots: After the last coat dries, look for any spots you missed. Touch them up with a brush.
7. Remove Painter’s Tape: Remove tape while the paint is still wet for sharp lines.
8. Final Touches: Put back furniture and hardware, and arrange it as you like. Let the paint cure before using the room heavily.
| Step | Description |
|---|---|
| 1 | Choose your paint type and finish |
| 2 | Prepare the room and furniture |
| 3 | Apply primer as necessary |
| 4 | Paint edges with a brush |
| 5 | Roll paint on walls |
| 6 | Inspect for missed spots |
| 7 | Remove painter’s tape carefully |
| 8 | Finish by replacing furniture |
By following this guide, you can confidently change your space with new colors. Enjoy the process and be proud of your work!
Preparing the Room for Painting
Before you start painting, getting the room ready is key. This step makes sure your project goes well and looks great. You want a clean space that makes work easier and keeps your area safe.
Clearing the Space
First, take everything out of the room. Move furniture, decorations, and anything that could get in the way. If something is too heavy, get help to avoid accidents or damage. If you can’t move everything, put items in the middle and cover them well.
Protecting Your Furniture and Floors
It’s important to protect your floors and furniture. Use drop cloths or plastic sheets to keep floors safe from paint spills. Painter’s tape helps protect furniture edges and makes lines clean. Make sure everything is covered well to stop paint from getting through.
Cleaning and Repairing Walls
Then, clean the walls. Dust, dirt, and grease can ruin paint adhesion. Use a damp cloth or mild cleaner for cleaning. If there are cracks or holes, fill them with spackling compound and sand them smooth after drying. This step is crucial for a flawless finish.
Selecting the Perfect Color Scheme
Choosing the right color scheme can make a big difference in your room’s look and feel. Knowing how lighting and room size affect color is key. Tips for picking room colors can help you achieve a look that’s uniquely yours.
Considering Lighting and Room Size
When picking colors, think about your room’s lighting. Natural light changes how colors look, making them seem lighter or darker at different times. Also, consider your room’s size. Light colors can make small rooms feel bigger, while dark colors can make large rooms cozy.
Using Color Swatches Effectively
After thinking about lighting and room size, use color swatches to see how colors will look on your walls. Many paint brands offer small samples for this purpose. Paint big patches on the wall and check them at different times of day. This way, you can see how they match with your decor.
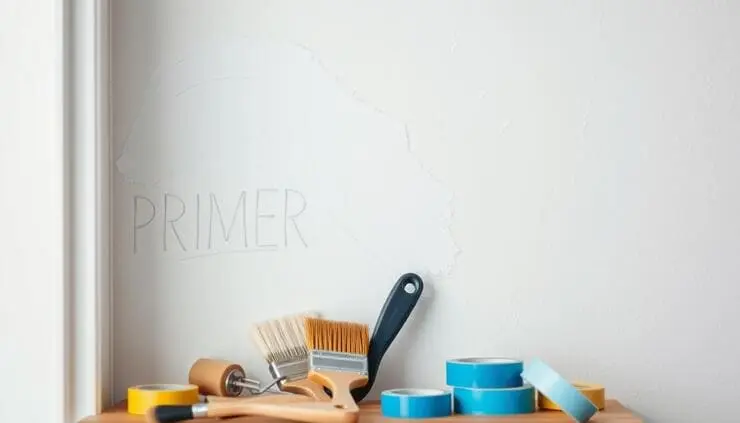
Applying Primer for a Professional Finish
Primer is key for a perfect paint job. It helps the paint stick and covers stains. Knowing when to use primer is crucial for a great result.
When to Use Primer
Primer is needed in some cases. This includes:
- Stains on walls, whether from water damage or smoke.
- Painting over dark colors that might bleed through.
- New drywall, which can absorb paint unevenly.
- Surfaces that are glossy or slick, such as previously painted cabinets.
Using primer tips ensures a smooth surface for painting.
Techniques for Applying Primer
For the best results, follow professional painting methods. Here are some steps:
- Prepare the Surface: Clean the area to remove dust and debris.
- Choose the Right Tools: Use a quality roller for large areas and a brush for edges or detailed work.
- Apply Evenly: Work in sections, applying the primer in thin, even coats to avoid dripping.
- Use the Right Technique: For smooth finishes, start rolling from the bottom to the top and overlap strokes.
- Let it Dry: Allow sufficient drying time before applying the topcoat, as outlined on the primer can.
Mastering these techniques will give you a solid base for your paint. This will make your room look professional and beautiful.
Mastering the Painting Techniques
Getting great results in painting depends on knowing different techniques. Learning how to roll and brush can really make your painting look professional. Each method has its own benefits, leading to a top-notch finish. We’ll look at these techniques, focusing on the importance of cutting in and adjusting for different surfaces.
Rolling vs. Brushing Techniques
Rolling and brushing each have their own perks:
- Rolling: Great for big areas, rollers cover fast and evenly. They hold a lot of paint, making flat surfaces smooth.
- Brushing: Brushes are better for details and small spots. They give you control, especially around edges and corners.
Cutting in Around Edges
Cutting in means painting edges with a brush before rolling. It’s key for clean lines and a neat finish. It keeps the roller away from edges, avoiding extra paint where it shouldn’t be.
Working with Different Surfaces
Adjusting your painting for the surface you’re working on is important. Here are some tips:
| Surface Type | Recommended Technique | Best Tools |
|---|---|---|
| Drywall | Rolling | Roller, Flat Brush |
| Trim and Molding | Brushing | Angled Brush |
| Textured Surfaces | Rolling | High-Nap Roller |
| Cabinets | Brushing | Quality Brush |
Room Painting Tips for a Flawless Finish
Timing and preparation are key to a perfect paint job. You need the right conditions before you start. Here are some tips to help you overcome common painting challenges and get great results.
Choosing the Right Time to Paint
Good painting weather is important. Paint when it’s not too hot or cold, and the air is dry. High humidity can slow drying and cause uneven paint.
Paint when the room is less bright. This makes it easier to spot any mistakes.
Dealing with Imperfections
Even the best painters have small mistakes. But, you can fix them easily. If you see drips or streaks, wait for the paint to dry.
Then, sand the area with fine-grit sandpaper. Use a clean brush to touch up. These tips will help you get a flawless finish.
Adding Finishing Touches to Your Painted Room
After painting your room, the last details are crucial. Paying attention to these details can make a big difference. This part will show you how to remove painter’s tape right and fix any mistakes with touch up painting.
Removing Painter’s Tape Correctly
Removing painter’s tape needs care to avoid damaging the paint. Here’s how to do it:
- Wait for the paint to dry completely before removing the tape.
- Use a utility knife along the edge of the tape, gently scoring the paint.
- Pull the tape away slowly at a 45-degree angle, ensuring no paint peels off with it.
- Inspect the edges for imperfections and make a note of areas needing touch-ups.
Touching Up Mistakes
Mistakes can happen, but they can be fixed. Here are some tips for touch up painting:
- Use a small brush for precision in tight spots.
- Be sure to use the same paint can for touch-ups to maintain color consistency.
- Apply the paint lightly; it’s easier to add layers than to remove excess.
- Blend the edges of the touch-up with a feathering technique to create a seamless transition.
By following these steps, you can make your painted room look polished and professional. Make sure to focus on these finishing touches for the best results.
Conclusion
You’ve learned the key steps to paint a room like a pro. From getting ready to picking the right colors, each step is important. Don’t forget the little things like protecting your furniture and adding the final touches.
Now, you should feel confident about painting a room. Believe in yourself and the skills you’ve picked up. With practice, you can make your home look amazing, showing off your personal style.
So, grab your tools and start painting. You’ll feel proud of your work, whether it’s one room or your whole house. The skills you’ve learned will make your projects a success and very rewarding.