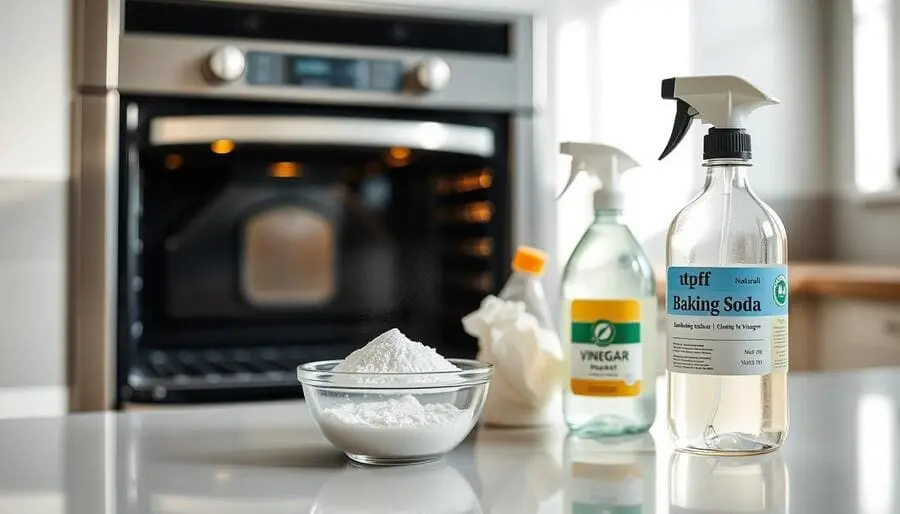
Ever opened your oven to find last week’s lasagna still there? You’re not alone. Keeping your kitchen clean can be tough. But, you may clean your oven without using harmful chemicals.
Using baking soda is a natural and safe way to remove grime. It’s also good for the environment. Cleaning your oven with baking soda is easy and rewarding. Let’s get started and make your oven shine.
Table of Contents
Overview of the Step-by-Step Cleaning Oven Process
Cleaning your oven might seem hard, but it’s easier than you think. By following a simple step-by-step guide, you can do it efficiently. This method uses baking soda to clean your oven naturally, showing how simple and effective it is.
You start by getting your supplies ready, preparing the oven, and making a baking soda paste. Each step helps you get closer to a clean oven. You’ll end up with a sparkling oven with little effort.
This process has seven main steps to help you clean your oven. By the end, you’ll not only have a clean oven but also feel more confident in cleaning it again. Get ready to make your oven shine and improve your cooking experience.
Gather Your Supplies
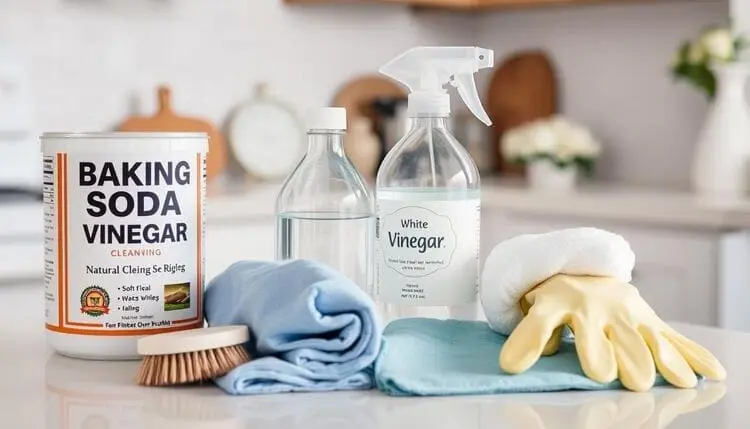
Before you start cleaning your oven, make sure you have all the right supplies. The tasks will go more smoothly and quickly if everything is prepared. The following is a list of supplies needed for a complete oven cleaning.
List of Essential Items
First, make sure you have these cleaning oven supplies:
- Baking soda
- Water
- Microfiber cloths
- Rubber gloves
- A spray bottle
These items will help you make a strong cleaning solution. It will help you remove even the toughest grime.
Optional Tools to Make the Job Easier
For an easier oven cleaning experience, consider these optional tools:
- A sponge
- A scrubbing pad
- A putty knife for stubborn residue
These tools can be very helpful, especially for tough spots.
Prepare Oven Cleaning
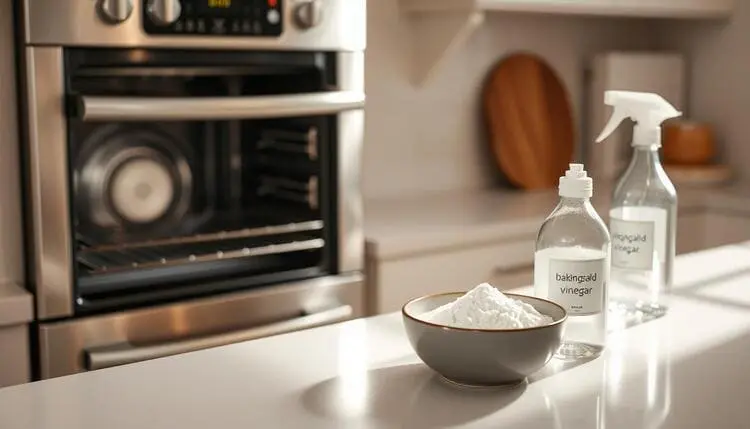
To start cleaning your oven, remove all racks, trays, and accessories. This is key for reaching tough spots and cleaning better. Always wait until the oven is cool to avoid burns and accidents.
After removing everything, check the oven’s interior. Look for any food bits or spills that need extra care. A clean surface helps the baking soda paste work its magic. Preparing your oven well makes cleaning easier and more effective.
Mix the Baking Soda Cleaning Paste
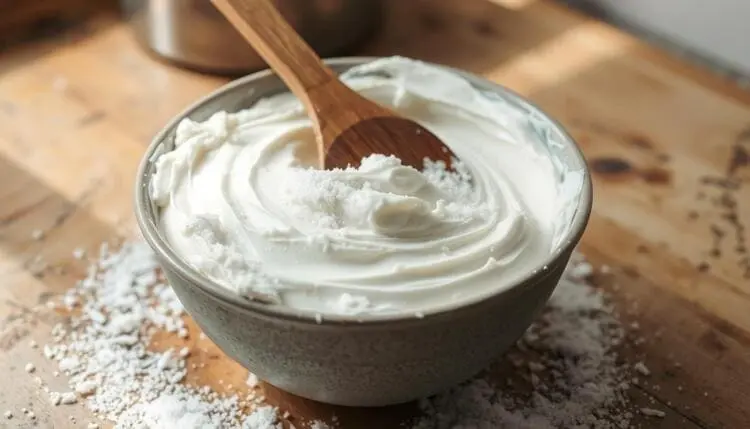
Making a good baking soda paste is key to cleaning your oven well, they will make your oven shine with little effort. Now, let’s talk about how to mix the right amount and get the paste just right.
The best mix is three parts baking soda to one part water. This makes a paste that sticks well to your oven, making cleaning easier. Just mix the ingredients in a bowl until you get the right texture.
Start with the three-to-one ratio, then tweak it as you go, add a small amount of water if it the paste too thick. You want it to be spreadable but stay put to tackle tough stains.
Apply the Paste to the Oven
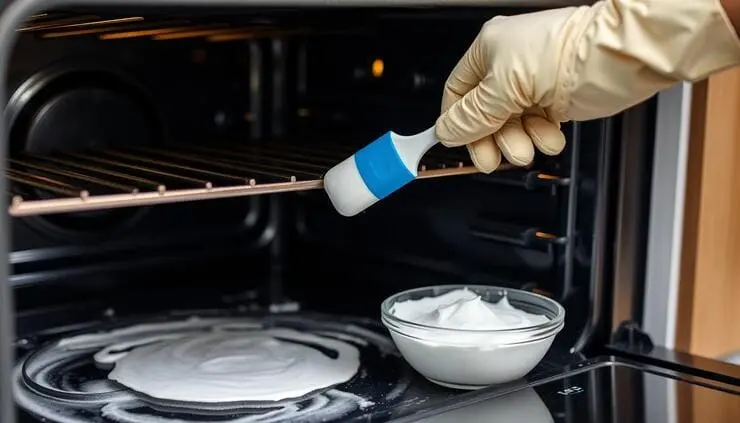
Your baking soda paste is now ready to apply. Focus on areas that need extra care, like the walls, floor, and the cleaning oven door glass. These spots tend to get the most grime and need your attention for a deep clean.
When applying the paste, concentrate on the oven walls and floor. These areas often have stubborn stains from cooking splatters. Don’t forget the cleaning oven door glass, which can get cloudy and dirty. Covering these surfaces will help you get a sparkling clean finish.
While applying the paste, be careful around the heating elements. Avoid getting baking soda on them to prevent damage. Work around them carefully, applying the paste where needed without affecting their operation. This careful approach keeps your oven safe while you clean tough spots.
Let the Baking Soda Work Its Magic
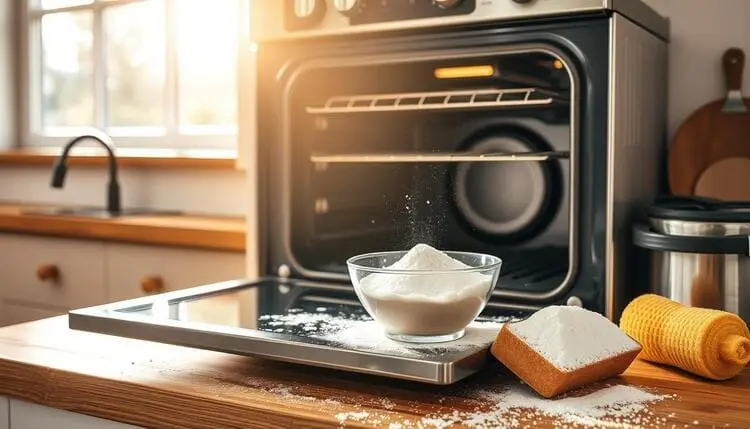
After applying the baking soda paste, give it enough time to work. This ensures it gets deep into the grime and grease. It’s best to let it sit for at least 12 hours or overnight.
This time allows the baking soda to break down tough stains and residues. It’s a crucial step for a successful cleaning.
Don’t rush the process. Rushing can lead to missing out on the best results. After the baking soda has done its job, scrub and rinse the oven. You’ll see a sparkling interior.
RELATED : Clean a Dishwasher Filter in 5 Simple Steps for a Fresh and Efficient Machine
Scrub and Remove the Paste
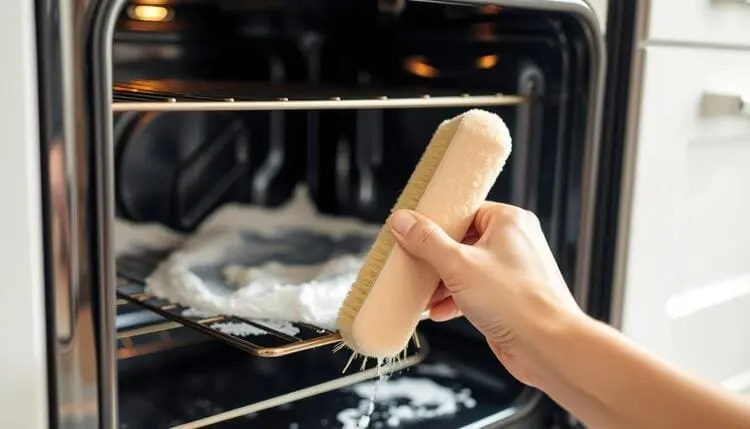
After the baking soda paste works its magic, it’s time to scrub and remove it. This step needs careful attention to avoid damaging your oven. You can scrub safely by using the right tools and techniques.
Begin with non-abrasive sponges or soft cloths to gently scrub the oven’s interior. Use circular motions to remove the paste without scratching. For tight spots, a soft-bristled brush is perfect.
Being gentle helps remove stubborn stains without harming your oven.
For stubborn stains and residue, specialized tools are useful. A plastic scraper is great for hard spots without scratching. Dampening your tools helps loosen the paste, making it easier to clean. This approach ensures you tackle tough residue without damaging your appliance.
Rinse and Wipe the Oven Clean
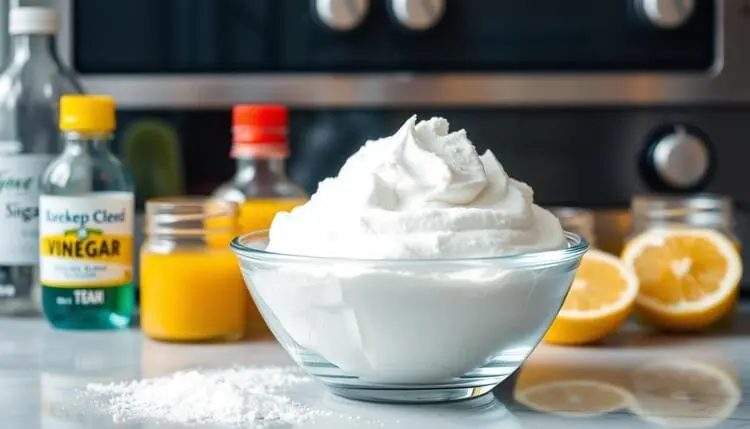
After scrubbing, it’s time to rinse and wipe the oven clean. This step is key to removing any leftover clean oven residue. For the best results, wet a clean cloth with warm water first, then, wipe down all oven surfaces, focusing on areas where the paste stuck.
Make sure to rinse the cloth often to avoid spreading residue. Pay special attention to corners and edges, where food tends to stick. For tight spots, a gentle sponge can be very helpful. It can effectively remove any remaining residues.
After rinsing, drying the oven correctly is crucial to avoid streaks or water spots. Use a dry, lint-free cloth for this. Wipe the surfaces in a circular motion, making sure no damp spots are left.
make sure the door stays open for a few minutes, this allows air to circulate and helps dry the oven. This simple trick can make your oven look sparkling clean.
Reassemble and Enjoy Your Sparkling Oven
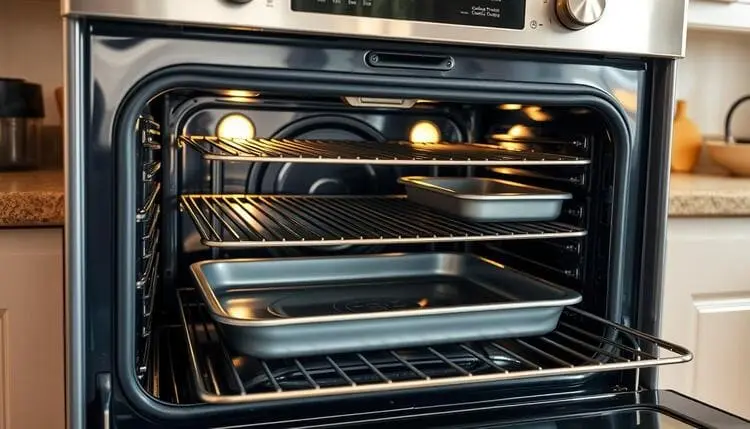
After cleaning, it’s time to put your oven back together. First, check for any leftover residue. Make sure the inside is clean and free of baking soda or grime. Wipe away any remaining bits before reassembling.
Now, put the racks and trays back in their places. This is the final step to make your oven look brand new. Take a moment to enjoy the clean kitchen and the satisfaction of a sparkling oven.
Additional Maintenance Tips
Keeping your oven in top shape is more than just a deep clean now and then. By following some effective oven maintenance tips, you can make your appliance last longer. It will also work better.
How Often to Clean Oven with Baking Soda
It’s smart to deep clean your oven with baking soda every 3 to 6 months. This keeps it clean and prevents damage. Regular cleaning also makes future cleaning easier.
Quick Tips for Preventing Future Buildup
Small changes in cooking can stop oven buildup. Always use a baking sheet or tray to catch spills. Wipe down the oven walls after each use to avoid tough cleaning later. Simple daily habits can keep your oven looking new.
Conclusion
Cleaning your oven with baking soda is easy and effective. It fits well into your cleaning routine. This natural method gets rid of tough grease and grime without using harmful chemicals.
It’s not just about a clean oven. It’s about making your kitchen healthier for you and your family. Maintaining your oven’s functionality requires routine cleaning.
Using natural cleaning solutions makes the task easier. You’ll feel good knowing you’re using safe and eco-friendly ingredients. Make cleaning your oven a regular habit.
This will make the task more enjoyable. Your food will taste better, and your kitchen will look great. You’ll take pride in a clean and well-maintained cooking space!

